

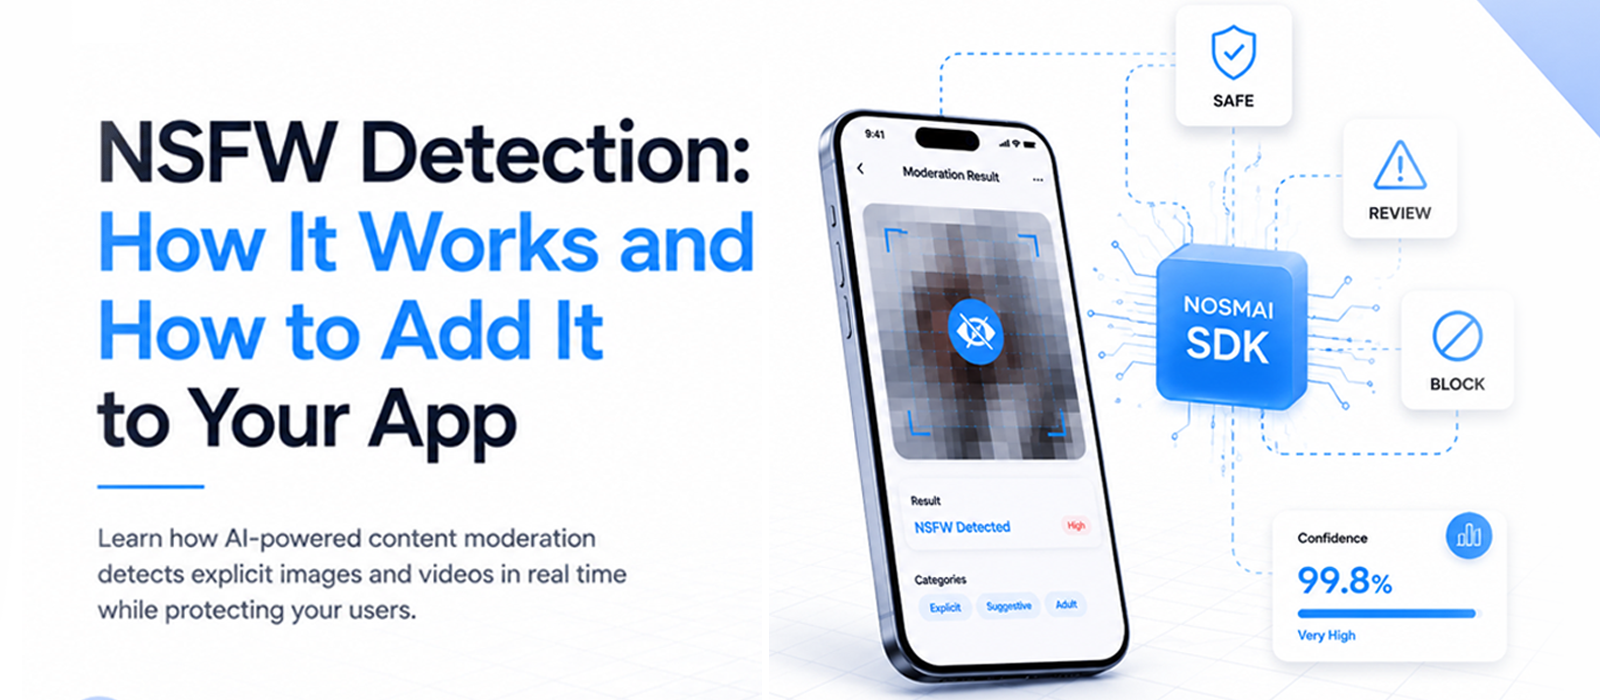
NSFW Detection: How It Works and How to Add It to Your App
It only takes one explicit image to undo months of work on your app.
Imagine a user opens your app and sees an explicit photo they never asked for. They will delete your app on the spot.
And if users can upload photos to your app, this isn't a hypothetical.
Luckily, blocking these images is easier then developers think - through NSFW detection.
And… the integration itself is an afternoon of work.
The hard part, still, is understanding what the technology actually does, and tweaking the settings so it catches the explicit content without meddling with the “normal” content + how to deal with the borderline cases.
That's what this guide covers, to find the perfect middle ground for your app.
So… let's start off this post with what's happening under the hood, i.e.
How NSFW Detection Works
An NSFW classifier is an image model trained on millions of labeled "safe" and "not safe" examples. But, it doesn't look for body parts the way a human would describe them.
Instead, it learns visual patterns like skin distribution, texture, pose, context, and the arrangement of shapes that show up alongside explicit content.
When you hand it an image, it gives out a probability for each class (for eg. safe, suggestive, or explicit) and you apply a threshold to decide what gets blocked, or not.
In short, remember THIS about NSFW detection: it's a probability engine, not a yes/no detector.
Why does that distinction matter, anyway?
Because a beach photo and an explicit photo can share a lot of skin pixels.
The model leans heavily on pose and context to tell them apart, which leads to the single most important thing we can tell you about this technology:
Anyone can catch hardcore content; the whole game is swimwear versus not-swimwear.
The quality of a model is almost entirely about how well it separates the borderline cases.
Here's what the probability part looks like in practice:
Since the output by NSFW detection is a score, you decide where the threshold lies.
If you set your threshold aggressively low, you'll catch everything (along with a pile of beach photos or gym selfies, which irritate users.
Set it too high and things slip through.
There's no universally correct number; there's only the right trade-off for your app's audience and risk tolerance.
Remember this when we get to implementation, because tuning that line is where your real effort will go.
Nudity detection is not the same as NSFW detection
One more clarification before we go shopping for tools.
Nudity detection answers one narrow question: is there exposed skin or nudity here?
"NSFW" is a loose umbrella that people stretch to mean very different things.
Sexual and explicit content, sure, but also violence, gore, weapons, hate imagery, and self-harm.
These are separate problems solved by separate models. A nudity model has never seen a gory image and won't flag it. The reverse is true too.
So.. when a vendor mentions "NSFW detection," ask exactly which categories they cover.
For most consumer apps, sexual and explicit content is the category to cover first as it drives the most user complaints, and it's what Apple scrutinizes hardest when reviewing a photo, chat, or social app.
Your 3 Options: Cloud API, Open-Source Model, or On-Device SDK
Now that you know what the tech does, you have three routes to get it into your app.
Option 1: call a cloud moderation API
Your app sends the image to a server, the server judges it, and you get a verdict back. If you want to see what that workflow looks like end to end, we broke it down in our developer's guide to content moderation APIs.
Option 2: bundle an on-device model
The model ships inside your app and classifies images locally, right on the user's phone; the same architecture we covered in image moderation without sending user data to the cloud.
Option 3: run your own model on your own server
You own everything, including all the maintenance.
So to decide which one to you should pick, use this method (cause its the one we’d go for too):
- Go open-source if you're still validating the feature, you have ML engineering time to spare, and your volume is low.
- Go cloud API if your moderation policy changes constantly, you need many content categories at once, or you already process every image server-side anyway.
- Go on-device SDK if you're a mobile app, latency and privacy matter to you, and you want predictable costs with no per-image bill.
That last option is the sweet spot for most consumer apps under six figures in terms of users.
On-device classification finishes in under 100ms on a mid-range phone; nothing leaves the device, and there's no per-image cost.
A cloud round trip, by comparison, typically takes 300 to 800ms depending on the user's network.
On-device isn't free of trade-offs, to be clear.
The model ships inside your app, so you pay in app size.
And you're bound to the model version you shipped until your next release. Whereas a cloud vendor can swap in a better model server-side without you touching anything.
If your moderation policy genuinely changes week to week, that flexibility matters. For everyone else, it's a fair price for speed, privacy, and a predictable bill.
Are Free Models Like NudeNet Good Enough?
NudeNet is a fine place to start and a bad place to finish.
Let us explain:
It's genuinely useful for a prototype. It's free, it runs, and it catches obvious explicit nudity. So if you just want to prove the feature is worth building, grab it and go.
But here's where it falls short once users show up:
Borderline content
NudeNet is tuned for explicit nudity, so swimwear, lingerie, artistic nudes, and suggestive-but-clothed images are where it gets distorted.
Remember what we said earlier?
That grey zone (borderline case) is exactly what generates user complaints and App Review flags.
Thresholds are entirely on you
You get raw scores and pick the cutoffs yourself with no guidance.
In practice, teams either over-block and end up with angry users, or under-block and end up with a rejected app.
Nobody maintains it for you
A public model is a snapshot in time. Nobody’s retraining it against the evasion patterns your users will actually try.
Mobile packaging’s your problem
Getting a model small, fast, and encrypted on a phone is real work the repo doesn't do for you.
And this applies to "free" in general, not just NudeNet.
Cloud free tiers are capped low, and the moment you cross the cap you pay per image (a cost that scales with your app success rather than revenue).
Worse, a cloud free tier means shipping user images to a third party, which is a privacy and compliance issue even when the dollar cost is zero.
How to Add NSFW Detection to iOS, Android, React Native, and Flutter
The integration pattern’s identical on every platform.
Install, initialize with your license key, call a moderate function, and act on the result. That's the whole thing.
On all four platforms, the model runs natively.
You write a few lines in your app's language, and the heavy lifting stays in the native layer - the same cross-platform approach we use for React Native and Flutter camera filters.
But… detection’s the easy part now. 80% of the actual work is deciding what to do with a borderline score. And that's a product decision, not a model one.
Do you block it? Blur it? Send it to review by human eyes?
Our guide on UGC moderation at scale walks through the three-tier setup that most apps land on: auto-approve the safe, auto-block the unsafe, and queue the uncertain middle for a human.
That means walking into the integration with answers to three questions:
- What threshold triggers action, per category?
- What exactly happens when content gets flagged (blocked outright, blurred with a tap-to-reveal, or held for review?)
- And what does the user who posted it see, so your app doesn't feel arbitrary?
None of these have universal answers, but all of them shape your users' experience.
How to Auto-Blur Explicit Images Before Anyone Sees Them
This is where everything discussed above comes together, and the one rule that makes or breaks it:
Get the verdict before the image is shown, not after.
If you moderate after display, even for a few hundred milliseconds, the user has already seen the content.
For most UGC apps, that defeats the entire point of moderating at all.
This is where on-device detection earns its purpose.
Because classification finishes in under 100ms on a mid-range phone (faster than the image would decode), you can hold the render, check the score, and then decide whether to show it, show it blurred, or replace it with a placeholder.
The whole pattern looks like this:
Blur by default while classifying, then reveal only if the score comes in under your threshold.
Users wait a tiny split-second before the picture shows up. The alternative (pictures flashing on screen and then disappearing) is the thing users screenshot and complain about.
You have a second option besides the blur: replace the image with a placeholder and let your model decide what to do with it. . The blurry style works best on scrolling pages, because your eyes don't notice the tiny pause while you move down; the placeholder works best in chat because a message bubble changing its size looks better than one that suddenly un-blurs. Either way, the principle stays the same: the verdict comes first, the picture shows up second.
And if your app has a live camera or streaming component, the same logic applies frame by frame, with its own set of timing challenges we've covered in our guide to video content moderation.
Your Next Step
Now, before you commit to any model or API, collect 100 to 200 real images, like the ones your users post (including the borderline ones) and run them through your shortlisted option.
The borderline results will tell you more than any accuracy page.